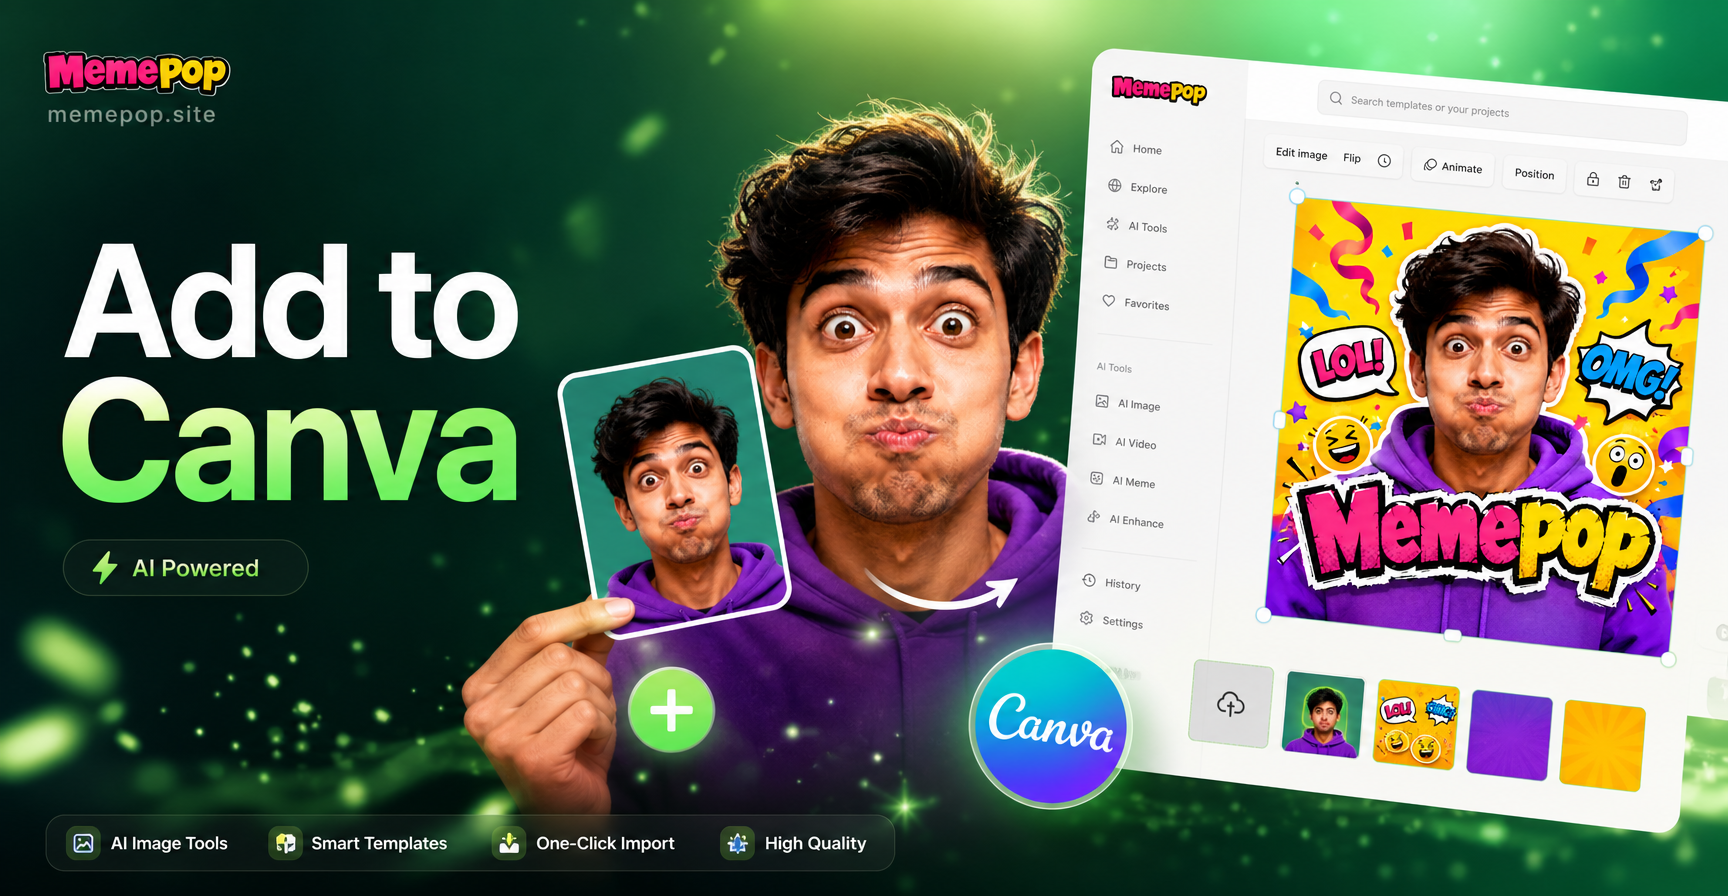
If you have ever wondered how to add pictures to Canva, the process is straightforward. Canva gives you several ways to bring your own photos into a design, whether you are working on a computer, a phone, or a tablet. You can upload from your device, pull images from cloud storage, take a photo with your camera, or drag a file directly onto the canvas. This guide explains each method in clear steps so you can start using your own pictures in posters, social media posts, presentations, collages, and more.
How to Add Pictures to Canva on a Computer
Most people create designs in Canva using a desktop web browser. To add pictures there, follow these steps.
- Go to Canva.com in your browser and log in to your account. If you do not have an account yet, you can sign up for free.
- Click the 'Create a design' button in the top right corner. Pick a design type such as Instagram Post, Presentation, Poster, or choose a custom size.
- Once the editor opens, look at the left side panel and click 'Uploads' or 'Photos'. For your own pictures, choose 'Uploads'.
- Click the purple 'Upload files' button. Select one or more images from your computer. You can also drag image files from a folder directly into the editor.
- After the upload finishes, click the thumbnail of the picture you want to use. Canva will place it in the center of your design. You can also drag the thumbnail onto the canvas.
- Use the white handles around the image to resize or rotate it. Drag the image to move it into the right position.
How to Add Pictures to Canva on Mobile
The Canva mobile app works slightly differently but the idea is the same. Use these steps on Android or iOS.
- Open the Canva app on your phone or tablet and sign in.
- Tap the plus button or 'Create a design' to start a new project. Choose a template or custom size.
- In the editor, tap the '+' icon at the bottom left or bottom center. This opens the upload menu.
- Tap 'Uploads' or 'Photos' and then tap 'Upload files' if needed. Choose images from your photo library, files, or camera roll.
- Tap a photo to add it to your design. You can also tap and hold to drag it into place.
- Pinch, drag, and use the corner handles to adjust the picture until it fits your layout.
Different Ways to Add Pictures to Canva
- Upload from your computer or phone storage. This is the most common method.
- Drag and drop files directly into the Canva editor on desktop.
- Connect cloud services like Google Drive or Dropbox and import images from there.
- Take a new photo using the camera option in the Canva mobile app.
- Use images from your existing Canva uploads folder, which stores pictures you have used before.
Adding Pictures from Google Drive and Other Cloud Storage
Canva can connect to cloud storage accounts so you do not need to download files first.
- In the editor, open the 'Uploads' panel.
- Look for the connected apps section or click 'Upload files' and choose a cloud source such as Google Drive, Dropbox, or Facebook.
- Sign in to the service if prompted.
- Browse to the image you want and click it. Canva imports the file into your uploads folder and inserts it into your design.
How to Add Pictures into Frames and Grids
Canva frames are a useful way to shape pictures into circles, arches, hearts, or abstract masks. Grids help you build clean collage layouts. Here is how to use them.
- In the editor, go to the left sidebar and click 'Elements'.
- Type 'Frames' or 'Grids' into the search bar and press Enter.
- Click or drag a frame or grid onto your canvas.
- Find the picture you uploaded in the 'Uploads' tab.
- Drag the picture over the frame or grid. Canva will automatically drop it inside the shape or layout.
- Double click the picture inside a frame to reposition it or zoom in and out.
How to Replace or Remove a Picture
If you added the wrong photo, you do not need to start over. Select the image on your canvas and do one of the following:
- Press the Delete or Backspace key on your keyboard to remove it completely.
- Drag a new image from the 'Uploads' panel directly over the old one. Canva will replace the old image while keeping the original size and position.
- Use the trash icon in the editor toolbar on mobile to delete the selected picture.
How to Arrange Multiple Pictures in One Design
When you add several pictures to a single design, the arrangement matters. Drag each image to the right spot and use the alignment guides that appear. Canva shows purple lines when images align to the center or edges. Use grids if you want evenly sized photos in a collage. Use frames if you want a mix of shapes. To bring one picture forward, select it and use the 'Position' button in the top toolbar, then choose 'Forward' or 'Backward'.
Adding Pictures Through the Photos Tab
In Canva, the 'Photos' tab in the left sidebar includes a large library of stock images. You can search for a subject or style and click a result to add it to your design. This is not your own picture, but it is useful when you need a quick background or supporting visual. If you use your own pictures often, keep them under 'Uploads' so you can find them in one place.
File Formats and Image Quality
Canva accepts common image types such as JPG and PNG. PNG is best for pictures with transparent backgrounds, while JPG works well for photographs. If you plan to print your design, use high resolution images, ideally 300 DPI or the original quality from your camera. Avoid stretching small images to fill a large canvas because they will become pixelated. Instead, choose a larger photo or use it inside a smaller frame or grid.
How to Save and Reuse Uploaded Pictures
Every picture you upload stays in your Canva uploads folder for future designs. This means you do not have to upload the same image twice. To find it later, open a new design, click 'Uploads', and scroll through your files. You can also use the search bar to filter uploads by file name. If your uploads folder gets crowded, delete unused images by selecting them and clicking the trash icon.
Common Problems When Adding Pictures to Canva
Most upload issues have simple fixes.
- File type not supported: Convert your image to a common format like JPG or PNG before uploading.
- Upload is slow or fails: Large image files can cause problems. Compress the image or reduce its dimensions, then try again.
- Picture looks blurry: Use the highest resolution version you have. Enlarging a small image will reduce quality.
- Can't find uploaded pictures: Click the 'Uploads' tab in the left panel or look in the 'Images' section on mobile.
- App is not showing your photos: Make sure Canva has permission to access your photo library in your phone settings.
Tips for Adding Pictures Like a Pro
- Keep your photos organized in folders before uploading so you can find them quickly.
- Use Canva frames to give your pictures polished shapes instead of plain rectangles.
- Match image tones by applying the same filter or adjustment after adding several pictures.
- Lock the background layer before placing pictures on top so you do not accidentally move it.
- Use the 'Position' and 'Layers' tools in the top toolbar to control which picture appears in front.
Can You Add AI Generated Pictures to Canva?
Yes. If you create custom images with an AI design tool, you can save those images to your device and upload them into Canva using the same steps above. For example, you can generate a custom portrait, product mockup, or stylized background in the memepop app, download it to your phone, and then bring it into Canva as a JPG or PNG. This works well when you want original visuals that stock photo libraries do not offer.
Conclusion
Adding pictures to Canva is one of the first skills every new designer should learn. Whether you are using a desktop browser or the mobile app, the core steps are the same: open a design, go to uploads, bring in your image, and position it on the canvas. Once you know these methods, you can combine your own photos with Canva templates, frames, and effects to create finished designs quickly. For a wider range of original visuals, consider generating custom pictures in a mobile app like memepop and then uploading those images to Canva for your next project.