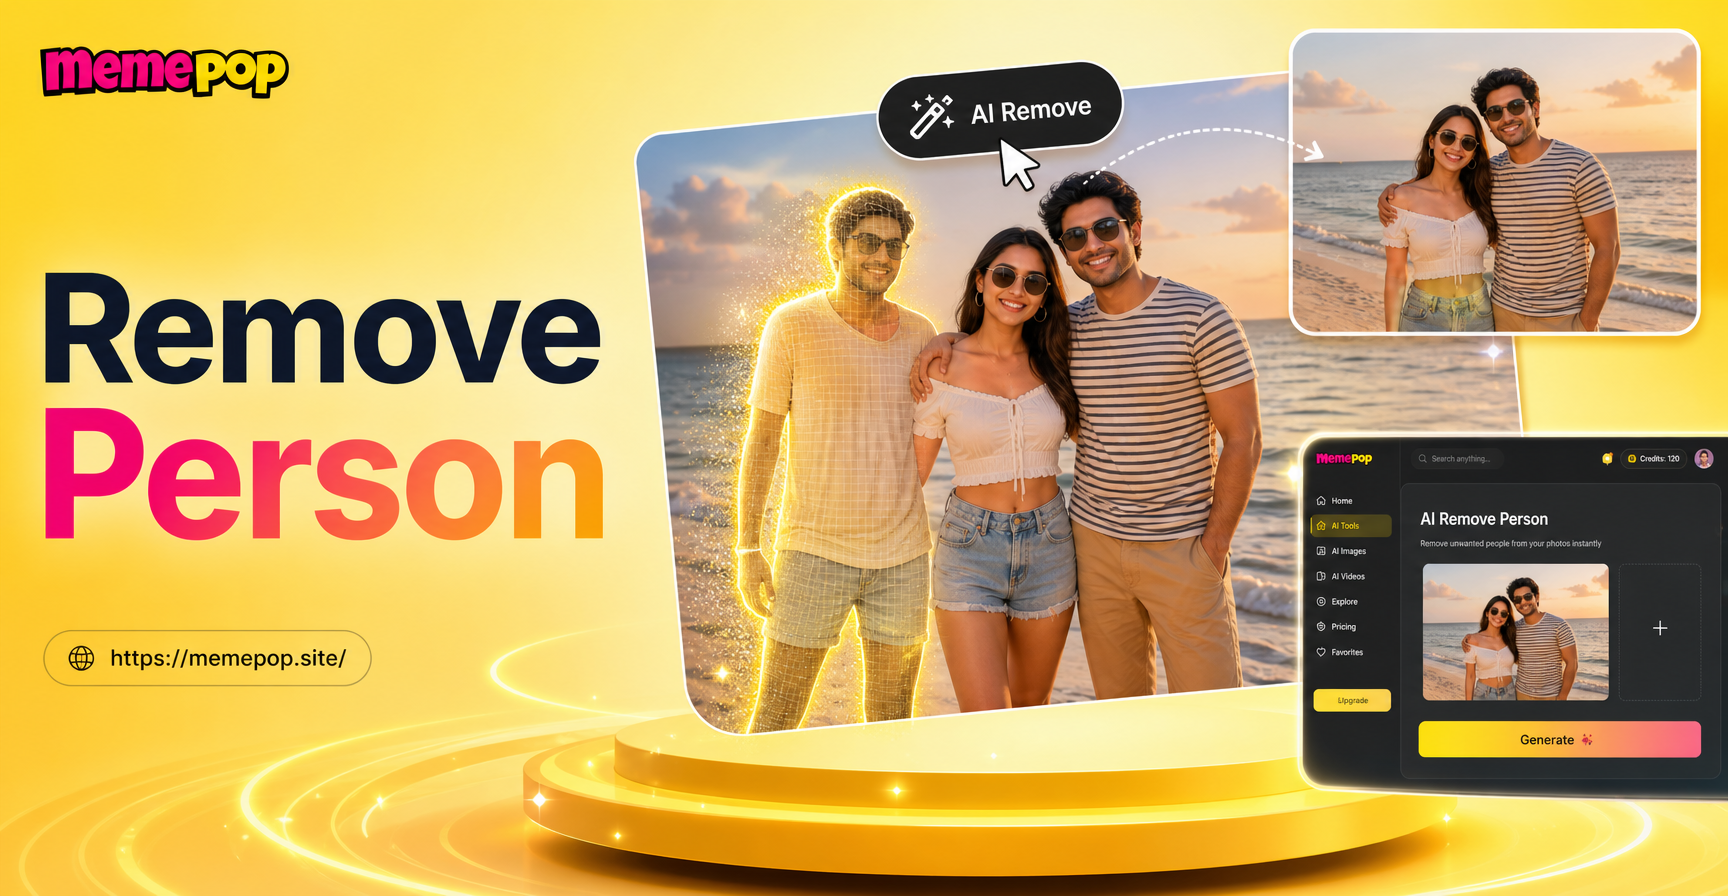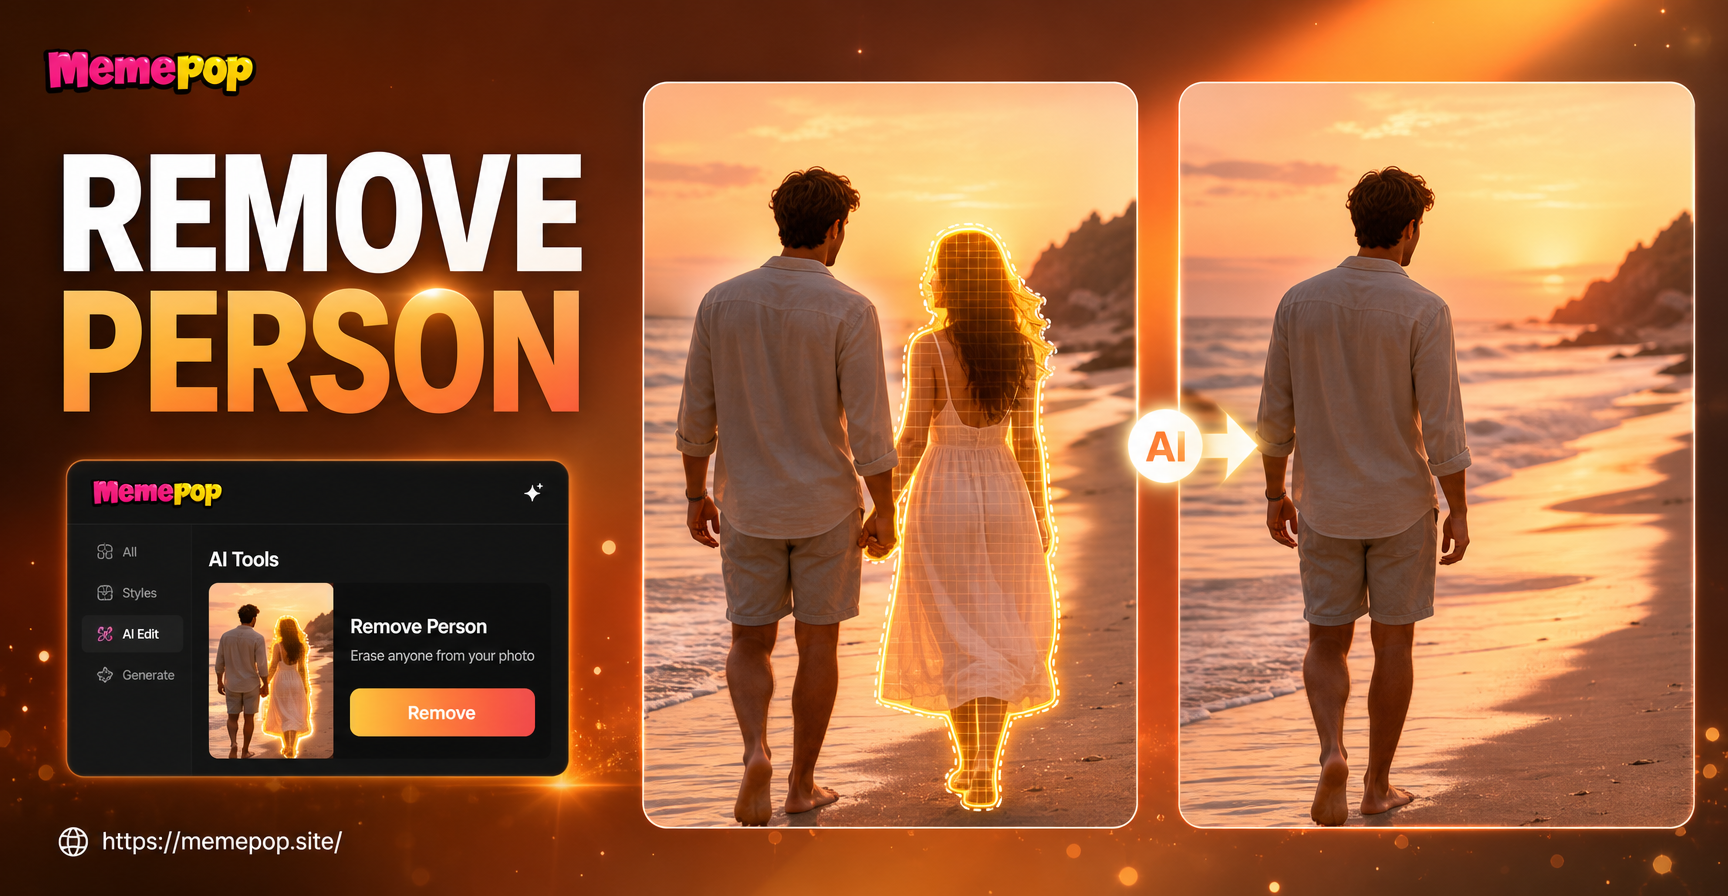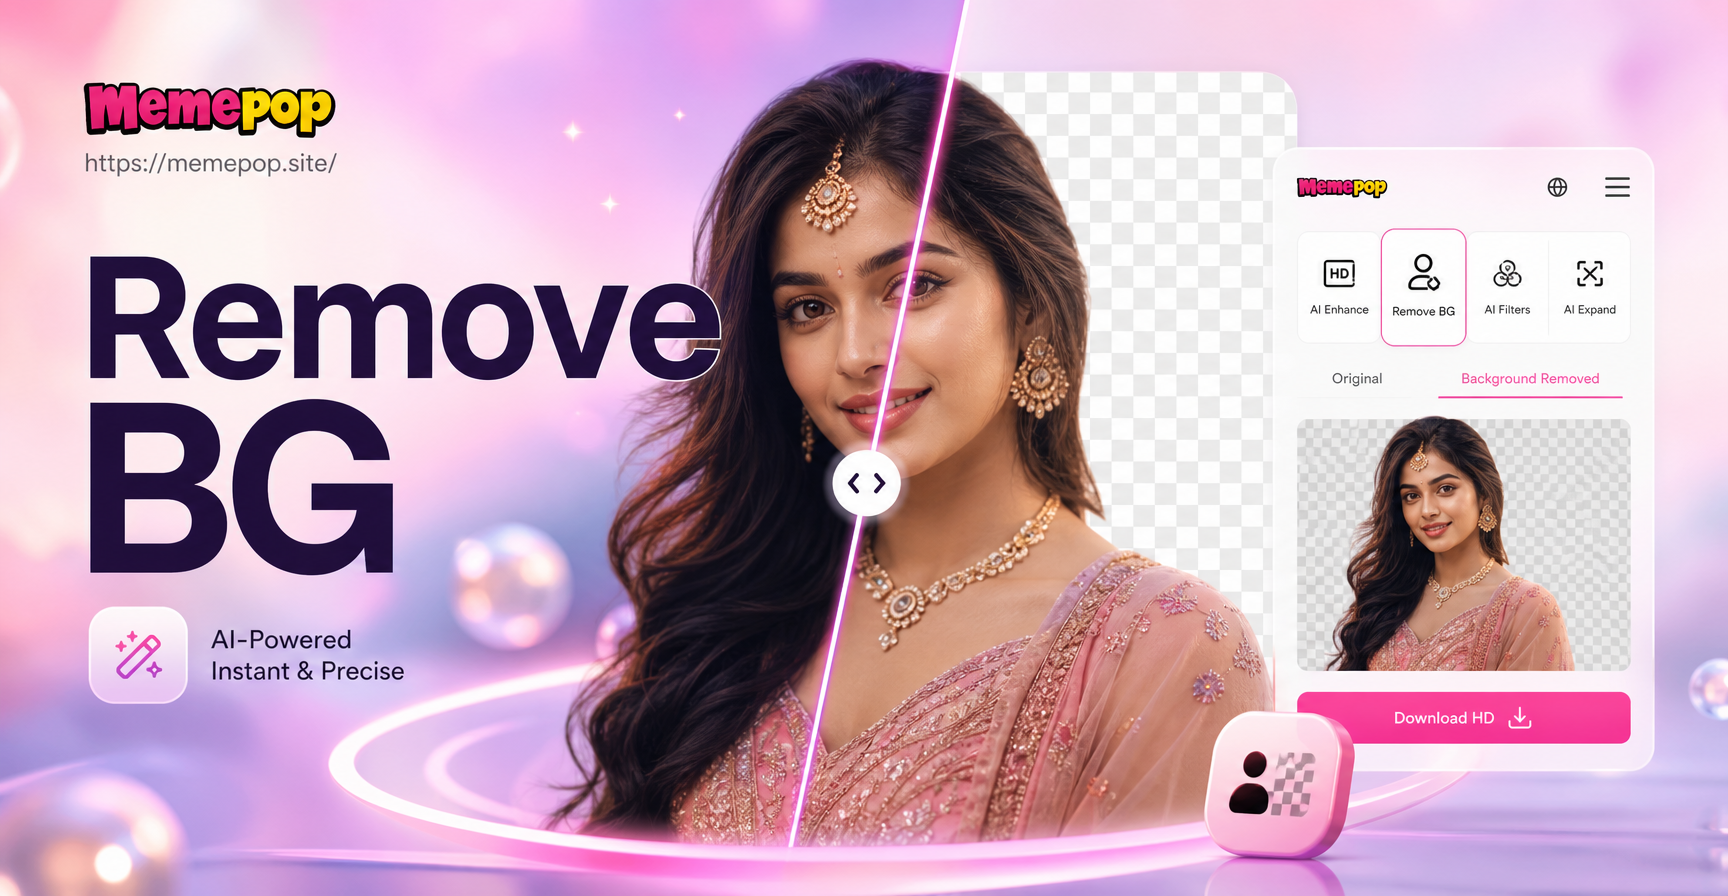
Removing the background from an image is one of the most useful photo editing skills you can learn. Whether you need a clean product photo for an online store, a transparent profile picture for a resume, or a cutout of your pet for a funny sticker, the process is easier than ever. In this guide, you will learn several reliable methods to remove a background using free online tools, built in phone features, dedicated mobile apps, and desktop software. You will also see how to use the memepop app after cutting out your subject to place it into a brand new AI generated scene.
Why Remove the Background from an Image?
Background removal helps you isolate the main subject so you can place it on a different background, change the color, or create a transparent PNG for designs. Ecommerce sellers use it to make product listings look professional. Social media creators use it to make thumbnails and memes. Job seekers use it for clean headshots. The goal is always the same: keep the subject sharp and remove everything else without visible artifacts.
What Is a Transparent Background and Why Does It Matter?
A transparent background means that the area around your subject has no pixels, so any new background you place behind it will show through cleanly. This is essential for logos, product images, and design assets. Without transparency, a white or colored box will appear around the subject when you try to layer it onto another image. Always export your edited image as a PNG file, because PNG is the most common format that supports transparency. JPEG files do not support transparency and will flatten the cutout onto a solid background.
What You Need Before You Start
Good results start with a good source image. Choose a photo where the subject is well lit and stands out from the background. High contrast between subject and background makes automatic tools work much better. Avoid busy backgrounds, heavy shadows, and motion blur. If the subject blends into the background, expect to do some manual cleanup afterwards. A sharp, high resolution photo gives you more pixels to work with when refining edges, especially around hair or fur.
Method 1: Use a Free Web Based Background Remover
Many free online tools can detect the subject in your photo and remove the background in seconds. These tools work in a browser, so you do not need to install anything. They are ideal for quick tasks and produce transparent PNG files that you can download immediately. They use AI to identify the main subject, so they work best on portraits, products, and objects with clear outlines.
Steps for a Typical Web Tool
- Open a free background remover website in your browser.
- Upload your image by dragging it into the upload area or selecting it from your device.
- Wait for the tool to process the image. Most tools highlight the subject automatically.
- Use the erase and restore brushes to fix any edges if the tool provides them.
- Download the result as a PNG with a transparent background.
For best results, use an image with a clear subject and a simple background. If the tool removes part of the subject, use the restore brush to paint it back. Online tools are great for a fast first pass, but they may struggle with hair, fur, or objects that have a similar color to the background.
Method 2: Use Your Phone's Built In Tools
Modern smartphones include handy background removal or subject lifting features. These are great for quick cutouts without installing anything extra. The exact steps depend on your phone and operating system, but the idea is the same: the phone automatically detects the subject and lets you lift it away from the background.
On iPhone
- Open the Photos app and select your image.
- Touch and hold the subject until a white outline appears.
- Tap Copy or Share, then paste the subject into another app like Messages, Notes, or a design tool.
- If your iOS version supports Lift Subject, you can also drag the subject directly into another app.
This method copies the subject without the background, but it does not always create a transparent file. You may need to paste it onto a white or colored background first, then export that composite as a PNG if you need transparency.
On Android
- Open Google Photos and select your image.
- Tap Edit, then look for tools like Magic Eraser, Background, or Cutout, depending on your device and app version.
- Use the suggested background removal or subject selection tool.
- Save or share the cutout.
Availability varies by phone model and app version. If your phone does not have a built in background remover, move to a dedicated app. Some Android gallery apps also include a simple background eraser under the edit menu.
Method 3: Use a Dedicated Background Eraser App
Dedicated background eraser apps give you more control than web tools. They let you manually mark foreground and background areas, refine edges, and export PNG files. Search your app store for 'background eraser' and choose an app with high ratings and no hidden fees. Many of these apps are free with optional in app purchases for advanced features.
Basic Workflow in a Dedicated App
- Install a background eraser app from Google Play or the App Store.
- Open the app and import your photo.
- Use the auto erase button to remove the background automatically.
- Use the manual erase tool to clean up leftover areas.
- Use the restore tool to bring back any part of the subject that was removed by mistake.
- Export the image as a PNG with transparency.
For hair and fur, switch to a smaller brush and zoom in. Patience pays off here. Some apps include a lasso tool for selecting complex subjects without affecting the background. Always review the edges before exporting.
Method 4: Use Desktop Software for Precision
If you need pixel perfect cutouts, desktop editors like Photoshop, GIMP, or Photopea give you the most control. The process is similar across these programs and allows you to fine tune every edge. Desktop tools are the best choice for professional product photos, portraits with flyaway hair, or images with soft shadows.
Photoshop and Similar Tools
- Open your image in the editor.
- Select the subject using the Quick Selection tool, Magic Wand, or the Select Subject command.
- Refine the selection with the Refine Edge or Select and Mask workspace.
- Invert the selection so the background is selected.
- Press Delete to remove the background, or add a layer mask for a non destructive edit.
- Export as PNG to keep the transparency.
This method takes longer but produces the best results for challenging edges like hair, fur, glass, and soft shadows. Use a graphics tablet for even more control when painting masks. If you are new to Photoshop, start with the Select Subject button and then use a soft brush on the layer mask to clean up areas.
Choosing the Right Method for Your Needs
Not every image needs a desktop editor. If you are making a quick meme or a sticker, a free web tool or your phone's built in feature is enough. If you are preparing product photos for an online store, a dedicated app with manual brushes will work well. If you are working on a professional composite or a portrait with complex hair, use desktop software. The right method saves time without sacrificing quality.
After Removing the Background: Create New Scenes with memepop
Once you have a clean cutout or a subject with a transparent background, you can have fun placing it into completely new AI generated environments. The memepop app is a mobile AI design tool that specializes in image to image transformations and style filters. You can upload your original photo or your cutout and choose from over one million style templates to generate a new background or an entirely new look.
How to Use memepop After Your Cutout
- Download memepop from Google Play.
- Open the app and tap the image to image feature.
- Upload your original photo or your cutout PNG.
- Choose a style template that matches the new background you want, such as studio, forest, city, or fantasy.
- Generate the image and download the result to your phone.
Because memepop is a mobile only app, you can do this anywhere. The AI uses your subject as a reference to keep the person or object recognizable while changing the surrounding scene. This is a great way to reuse a cutout for social media posts, profile pictures, or creative projects.
Common Mistakes and How to Fix Them
Hair and Fur Look Messy
Automatic tools often struggle with fine hair. Use a dedicated app or desktop editor with a refine edge tool. Zoom in and use a small brush to manually remove the old background between strands. You can also use a hair specific brush if available. In Photoshop, the Select and Mask workspace includes a Refine Hair button that helps a lot.
The Subject Lost Part of Its Edge
When an automatic tool removes too much, use a restore brush to paint the missing area back. In Photoshop, use the layer mask and a white brush to reveal the subject. Most dedicated mobile apps also have a restore or recover tool that works the same way.
The Background Is Not Fully Transparent
Some tools save files as JPEG, which does not support transparency. Always export as PNG. Check the file format before downloading or saving. If you paste the cutout onto a new background and see a white box, the file is likely a JPEG. Re-export as PNG.
Shadows and Halos Remain
If a faint outline or glow remains around the subject, use a defringe or matting tool to remove the edge color. In Photoshop, use Layer, Matting, Defringe. In other apps, look for an edge cleanup option. You can also use a soft eraser around the subject to blend away any leftover white or colored fringe.
Final Tips for Clean Cutouts
- Use high resolution images with a clear focal point.
- Shoot against a plain background whenever possible.
- Avoid busy patterns directly behind the subject.
- Check the edges at 100 percent zoom before exporting.
- Save a copy as a transparent PNG, not a JPEG.
- Use manual brushes for areas where automatic tools fail.
- Keep a backup of the original image in case you need to start over.
Learning how to remove the background from an image takes practice, but modern tools make it accessible to everyone. Start with a free web tool or your phone's built in feature, then move to a dedicated app or desktop editor when you need more precision. After your subject is cleanly cut out, use memepop to generate a creative new background and share your finished image online.