If you have ever looked at a favorite photo and wished it were sharper, brighter, or more polished, you are not alone. Learning how to enhance a photo can feel overwhelming, especially if you do not have professional editing experience. The good news is that modern tools make photo enhancement simple. With a few clear steps, you can fix soft focus, repair dull colors, reduce noise, and increase resolution right from your phone.
What Does Photo Enhancement Really Mean?
Photo enhancement is the process of improving an image so it looks cleaner, clearer, and more visually appealing. Enhancement can include sharpening soft edges, correcting exposure, boosting color, removing grain, and upscaling a low resolution file. It is different from heavy retouching or image manipulation. The goal is to restore and elevate the existing photo while keeping the original subject, moment, and mood intact.
Many people assume enhancement requires expensive desktop software. Today, AI powered mobile apps can handle most common photo problems. These apps analyze your image and apply targeted corrections automatically. You do not need to learn complex sliders or layers. You simply upload a photo, choose an enhancement option, and let the tool do the work.
Top Ways to Enhance a Photo on Your Phone
Here are six practical methods you can use to improve almost any photo. You can apply these techniques manually in an editing app, or use an AI tool like memepop to speed up the process.
1. Sharpen Soft or Blurry Details
A slightly out of focus image can lose impact. Sharpening increases local contrast around edges, making facial features, textures, and small details more defined. In standard editors, you can use a sharpen slider. AI based tools often recover lost detail by predicting what sharp edges should look like. For best results, avoid over sharpening, which can create unnatural halos around objects.
2. Fix Exposure and Lighting
Too dark or too bright photos hide important details. Adjust exposure to bring back shadow detail or recover blown out highlights. Many AI photo enhancers automatically balance lights and darks, making the image look natural. If your subject is backlit, lifting shadows can reveal their face without washing out the background.
3. Improve Color and White Balance
Dull, yellow, or blue tinted photos often suffer from poor white balance. Correcting white balance makes whites look neutral, which improves every other color in the frame. You can also boost saturation and vibrance to make colors richer without looking fake. In memepop, applying a style template can harmonize color, skin tone, and lighting in a single step.
4. Remove Noise and Compression Artifacts
Low light photos, older phone images, and heavily compressed files often contain grain or blocky artifacts. Noise reduction smooths these imperfections while preserving real texture. AI enhancement is especially good at separating noise from detail, so skin looks smooth and edges stay crisp. This step is helpful before posting to social platforms, which add their own compression on top of your file.
5. Upscale to a Higher Resolution
If a photo was taken years ago on a low megapixel camera, it may look fine on a small screen but poor when enlarged. Upscaling increases the pixel dimensions and fills in missing detail intelligently. This makes the image suitable for prints, posters, or large displays. AI upscalers reconstruct textures, faces, and fine lines with far better results than simple resize tools.
6. Subtle Style and Cleanup Edits
Sometimes enhancement means removing small distractions, smoothing skin, or applying a consistent color grade. Tools like healing brushes remove spots and objects, while filters give the photo a cohesive mood. With memepop, you can combine an image to image transformation with a style template to clean up the shot and apply a professional look at the same time.
Using Filters and Presets for Quick Enhancement
Filters and presets are pre configured adjustments that change color, contrast, and tone in one tap. They are perfect for beginners who want a consistent look without manual work. However, not every filter improves every photo. A filter that looks great on a bright landscape may make a portrait look oversaturated. In memepop, you can browse style templates and preview them instantly. Choose a template that fixes the main issue first, then adjust intensity if the app allows it. This way, you get a polished result without a flat, one size fits all effect.
Manual Editing vs AI Enhancement: Which Should You Choose?
Manual editing gives you precise control over every slider, but it takes time and practice. AI enhancement is faster and often produces great results without technical knowledge. If you need to fix one specific problem, such as a blown out sky, a manual tool may be enough. If you want an overall improvement with balanced color, sharpness, and noise control, an AI app like memepop is more efficient. Many people start with AI enhancement and then make small manual tweaks if needed. This hybrid approach saves time while still giving you creative control.
How memepop Simplifies Photo Enhancement
memepop is a mobile AI design app available on Google Play. It puts image generation and image to image editing in one place, with a large library of style filters that do the heavy lifting for you. Instead of learning multiple tools, you upload a photo and let AI produce a cleaner, more polished version.
Step 1: Download the App
Get memepop from Google Play on your Android device. The app is designed for fast, casual editing, so you can enhance a photo in seconds rather than spending an hour in a desktop program.
Step 2: Upload Your Photo
Open the app and choose the image you want to improve. You can select a portrait, a landscape, a group shot, or an old photo from your gallery. memepop accepts common image formats and works with photos you already have.
Step 3: Apply AI Enhancement
Use the image to image feature or pick a style template that matches your goal. The AI preserves the main subject while improving color, lighting, and detail. Preview the result, and if you want a different look, try another filter. When you are happy, save the enhanced photo to your device and share it anywhere.
How to Enhance a Photo for Different Subjects
Portraits
Focus on face sharpness, natural skin tones, and soft background bokeh. Use AI face recovery if the subject is slightly out of focus. Avoid heavy smoothing that removes pores and makes skin look plastic.
Landscapes
Boost clarity and vibrance to bring out texture in trees, water, and sky. Correct white balance to remove blue or yellow casts. Upscale if you plan to print the landscape or use it as a wallpaper.
Old Photos
Old scans often have fade, dust, and scratches. Start with noise reduction and contrast, then apply a color correction. AI restoration tools can rebuild missing details and add realistic color to black and white images.
Common Photo Problems and How to Fix Them
Here is a quick reference for specific issues you may face.
Blurry Face
Use a sharpening or face enhancement tool. In AI apps, face recovery models can rebuild missing detail around the eyes, mouth, and hair while keeping identity intact.
Dull Colors
Increase vibrance and adjust white balance. Applying a color grading template is the fastest way to give a flat image more life without oversaturating skin tones.
Low Light Noise
Apply noise reduction first, then lift shadows and exposure. AI denoisers work well here because they keep edges sharp while smoothing grain.
Low Resolution for Printing or Social Media
Upscale the image with an AI upscaler. This adds pixels intelligently so the photo stays clear at larger sizes. Avoid cropping heavily before upscaling, because that removes information the AI needs.
A Simple 5 Minute Workflow
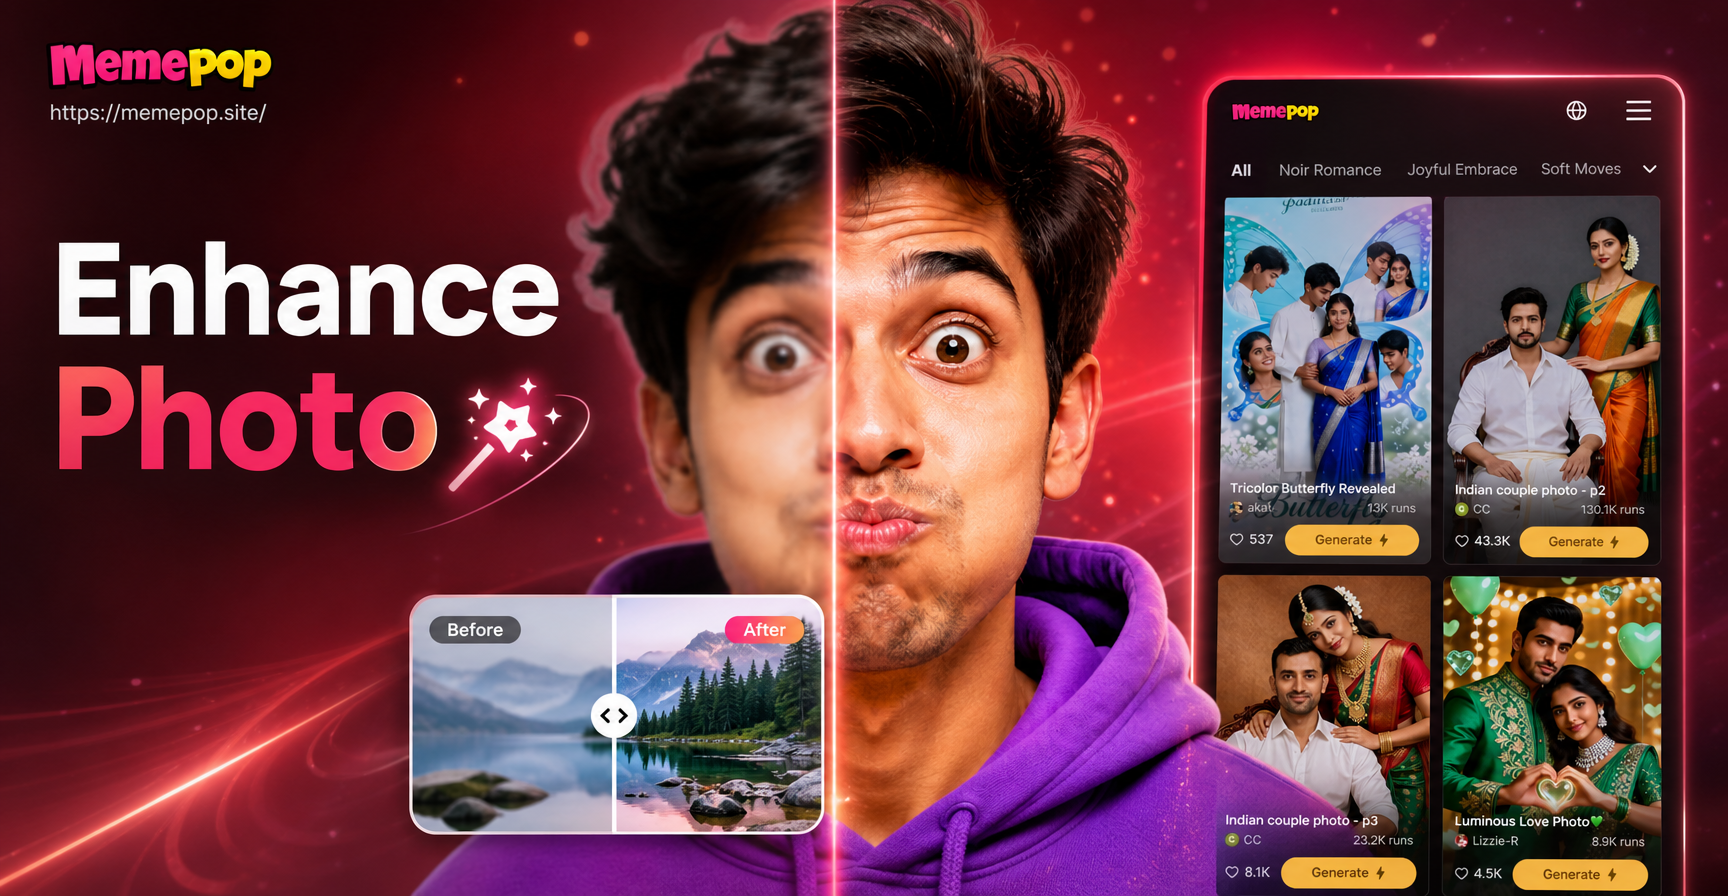
If you want fast results, follow this routine. First, upload your photo to a mobile AI app like memepop. Second, apply an enhancement or style template to correct the overall look. Third, check the before and after comparison to make sure details are preserved. Fourth, save the image. Fifth, if you plan to post on social media, export at the highest available quality. This workflow takes only a few minutes and works for most everyday photos.
Pro Tips for Better Results
- Start with the highest quality original you have. Enhancement can improve a photo, but it cannot recover details that were never there.
- Apply changes in small steps. Fix lighting, then color, then sharpness. This gives you more control than stacking aggressive filters.
- Use AI filters as a starting point, not a final answer. You can often blend an enhanced version with a subtle manual adjustment for a more natural look.
- Compare before and after often. Toggle between the original and enhanced versions to avoid overediting.
- Keep a copy of the original file. You may want to retry a different style later or start over without losing the source image.
Conclusion
Learning how to enhance a photo does not have to be complicated. By focusing on sharpness, exposure, color, noise, and resolution, you can turn a mediocre shot into a memorable one. AI apps like memepop make the process even easier by handling technical edits automatically. Download memepop from Google Play, upload your photo, and see how a few taps can bring your best moments back to life.