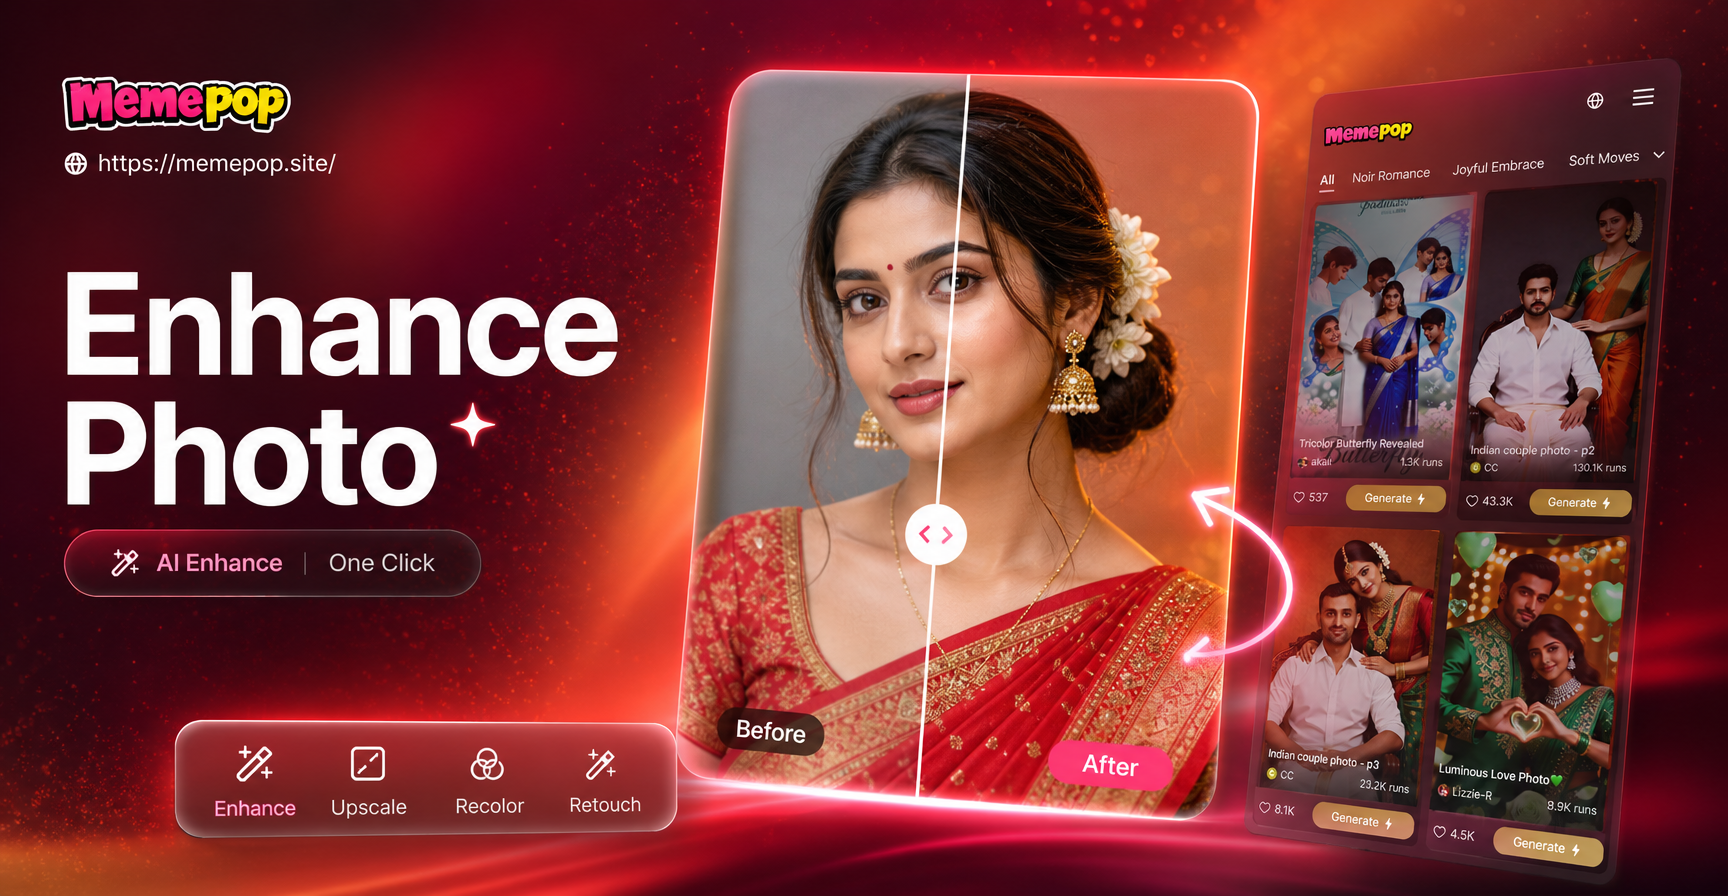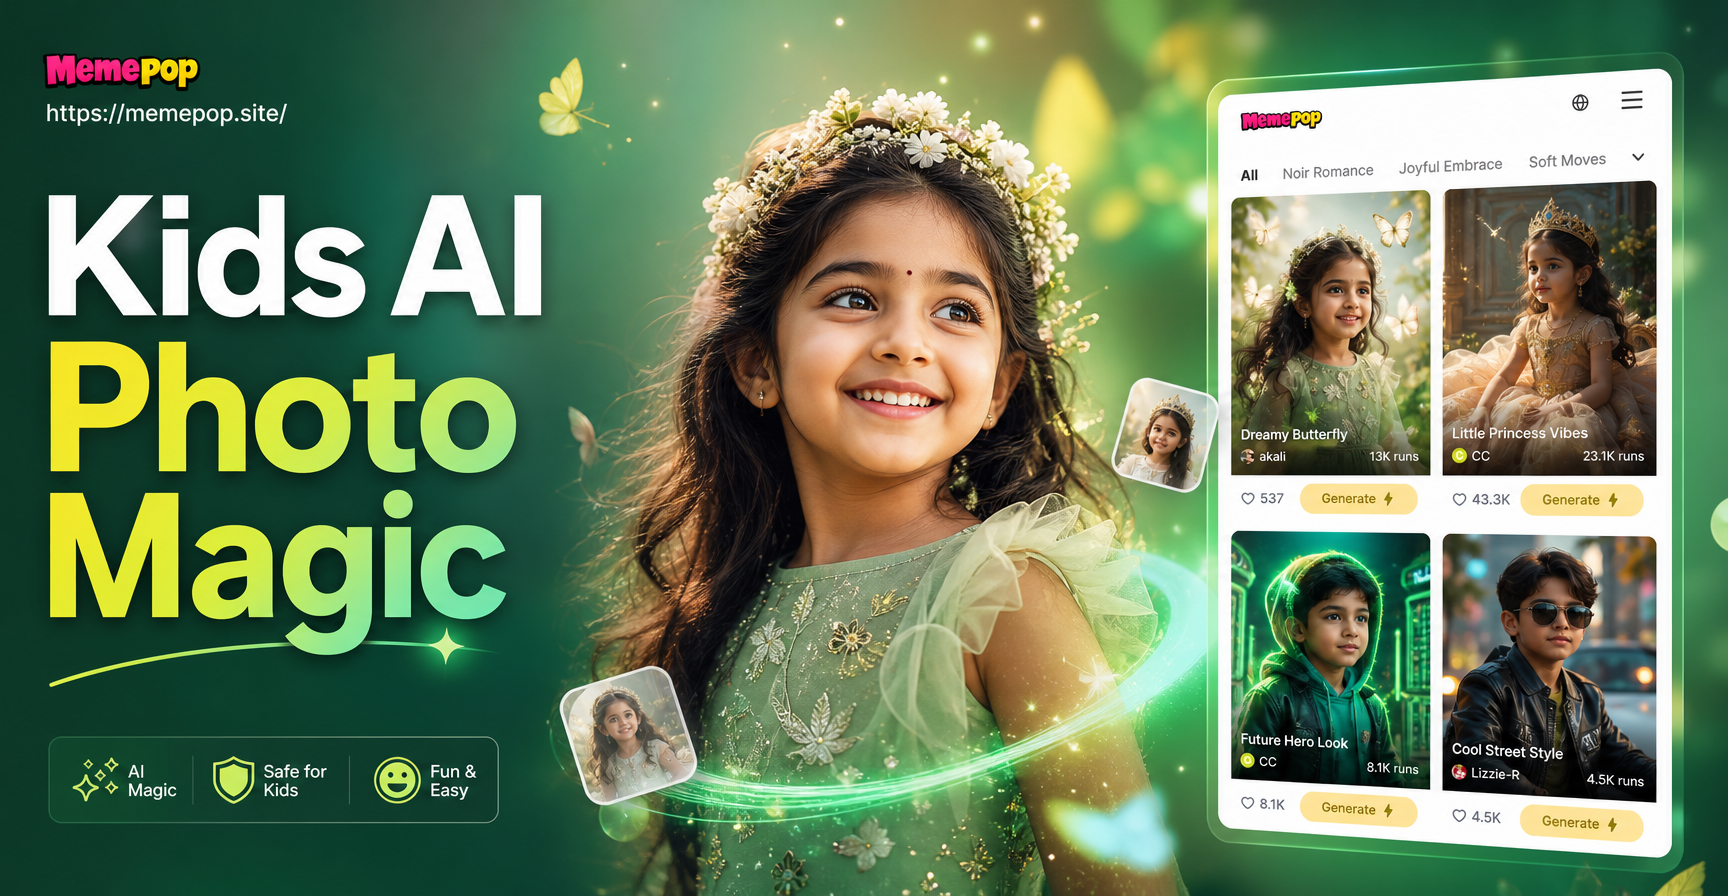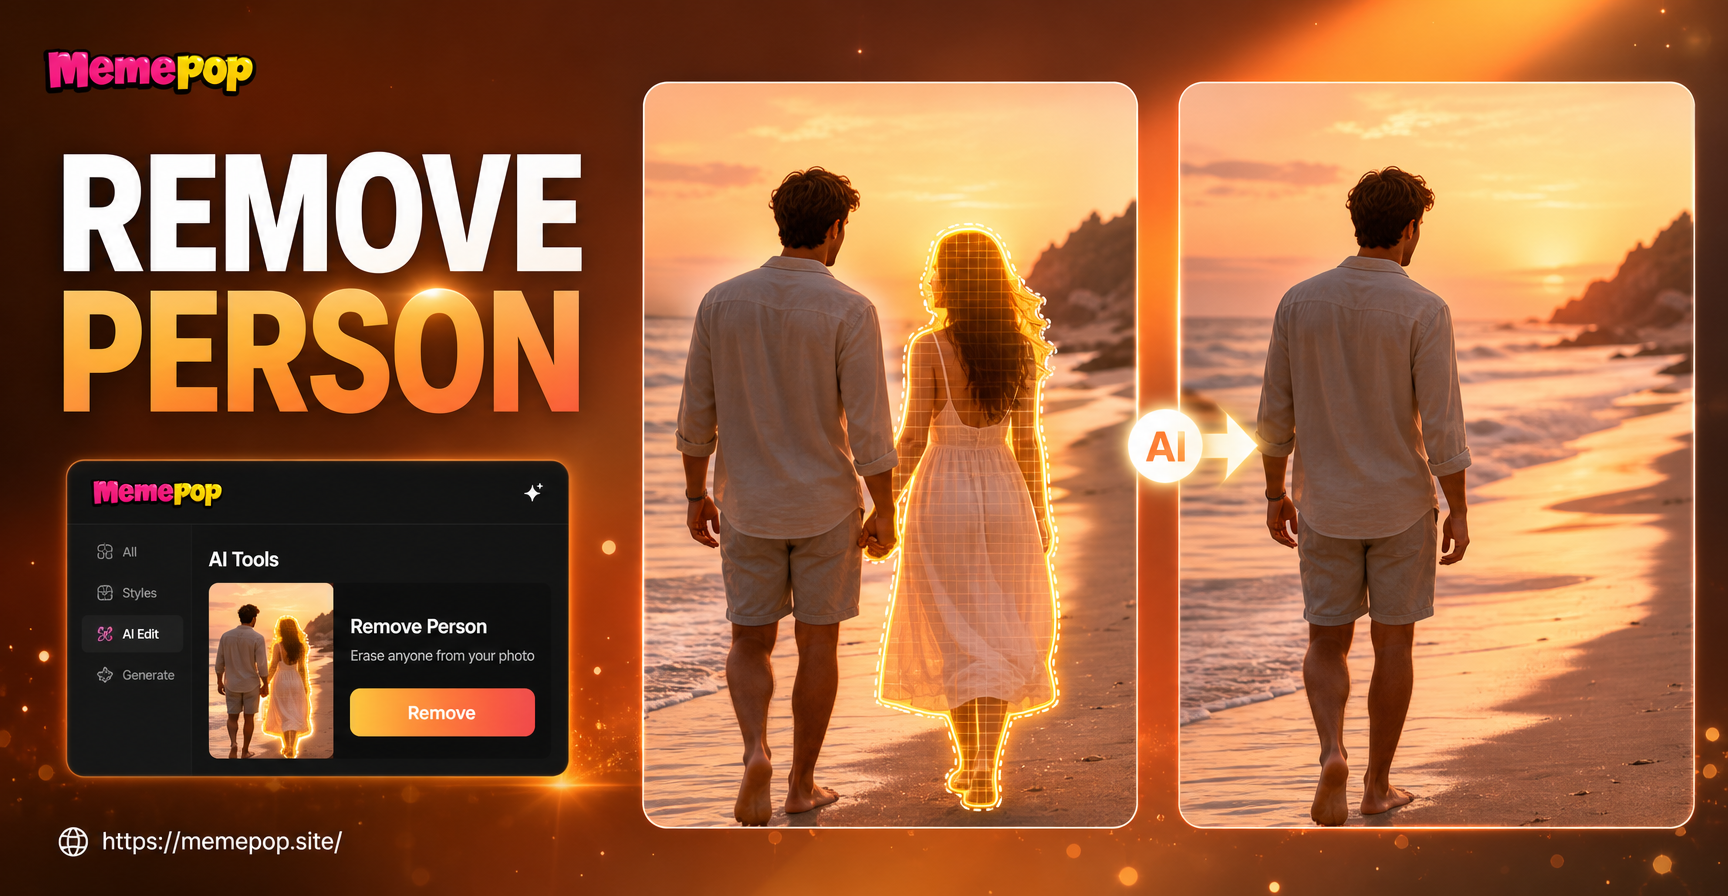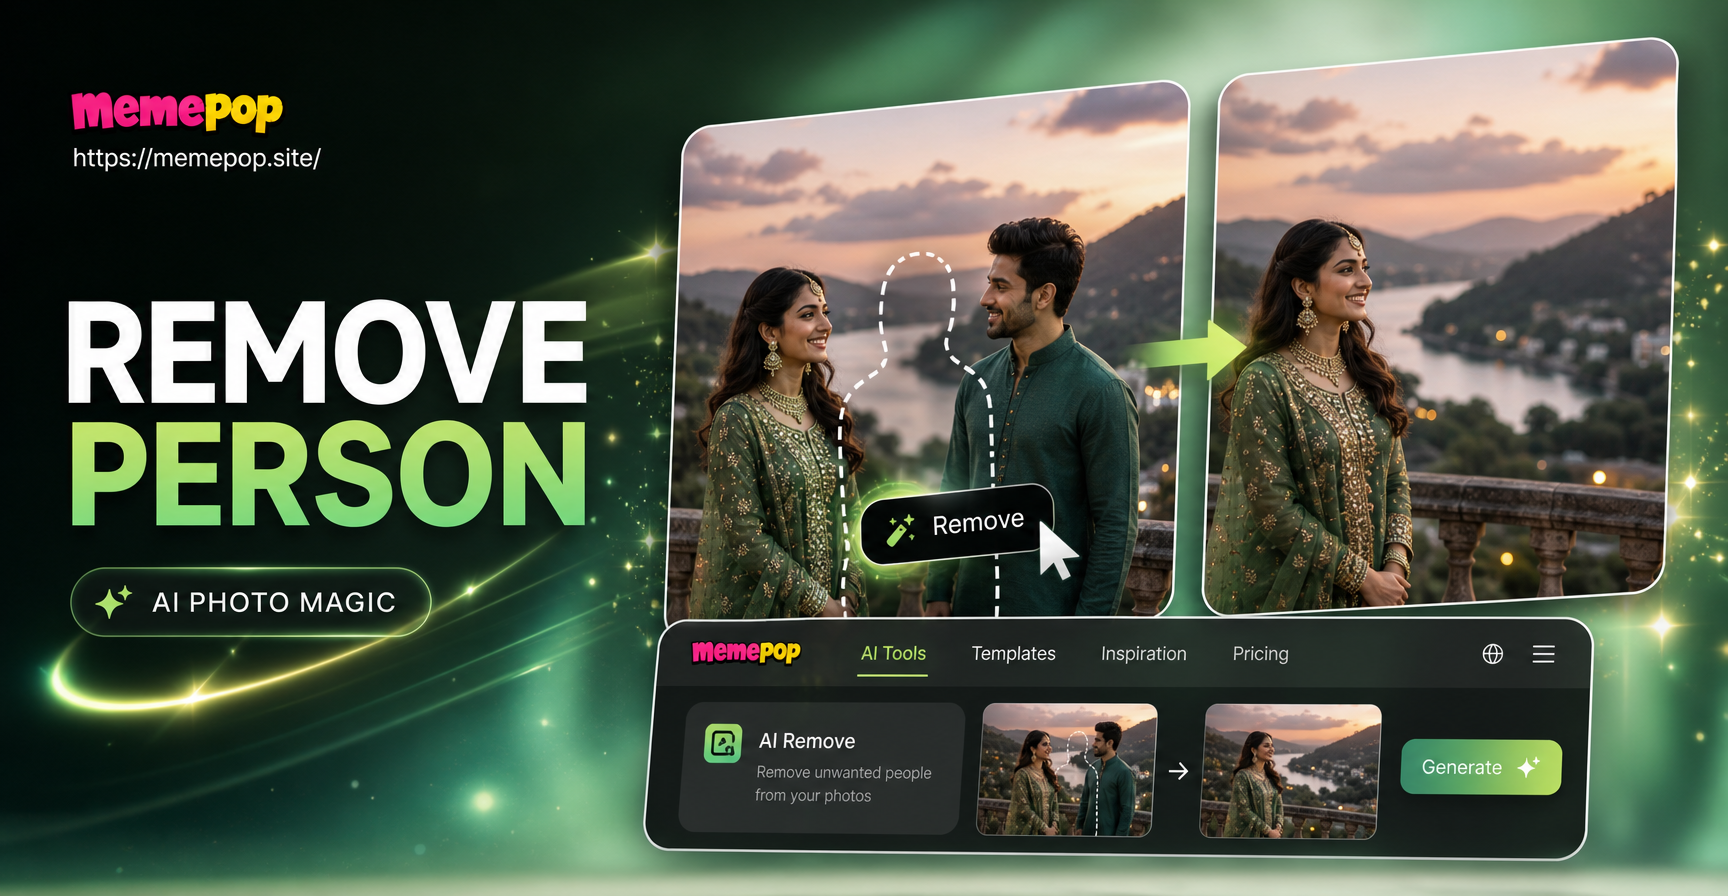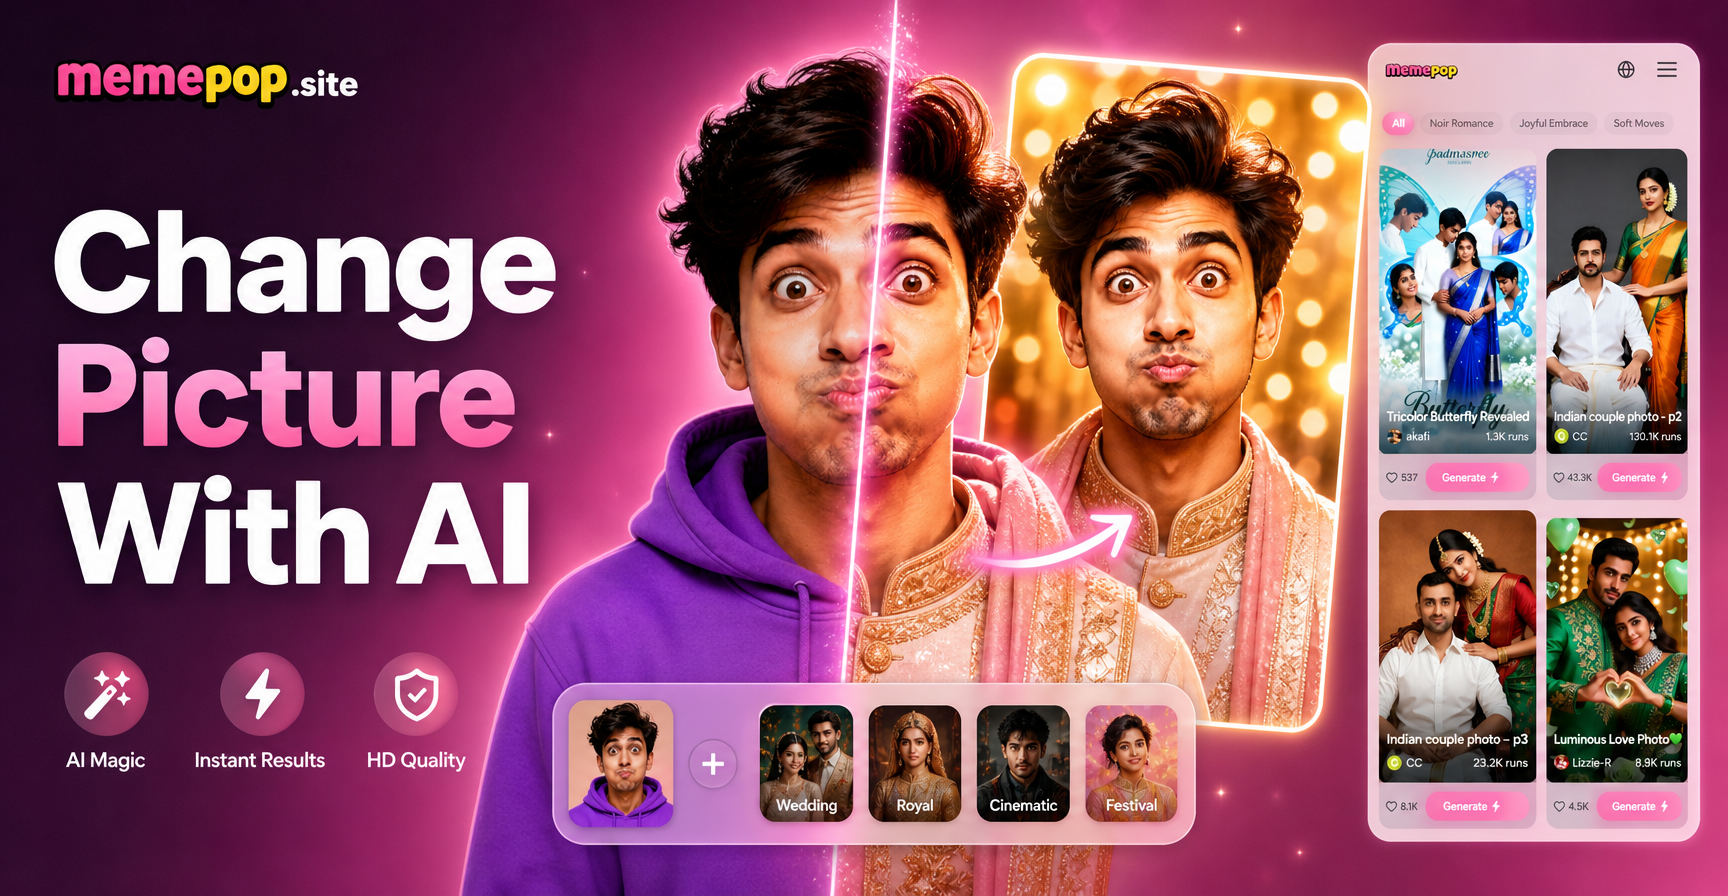
You have a photo you like, but you want a different background, a new outfit, or a completely different visual style. Instead of learning complex software, you can change a picture with AI in just a few taps. AI image editing uses neural networks to analyze the content of a photo, then transforms specific areas while keeping the original subject recognizable. This works on selfies, product shots, group photos, pet portraits, and casual snapshots. You do not need design experience, and you do not need to write advanced prompts. You only need a clear source image and a mobile app that supports image to image generation.
This guide explains what it means to change a picture with AI, the main types of edits you can make, a step by step mobile workflow, example instructions you can adapt, and the mistakes to avoid if you want natural results.
What Does Change Picture With AI Mean?
Changing a picture with AI means taking an existing image and using generative models to alter its appearance. It is different from generating a brand new image from text. Instead, the AI reads your photo as a reference, identifies the subject and scene, then applies changes according to a style template or a short instruction. The output is still based on your original picture, but the background, clothing, colors, or artistic finish may look different.
This process is often called image to image generation or AI photo editing. It is useful because it saves time. You do not have to cut out objects by hand, manually blend layers, or match lighting with traditional tools. The AI handles those tasks automatically.
Background Replacement
One of the most common ways to change a picture with AI is to replace the background. You can turn a cluttered room into a clean studio, move a portrait to a beach, or place a product on a plain white surface. The AI separates the main subject from the backdrop and fills in a new scene that matches the perspective and lighting reasonably well. Results look best when the original subject has clear edges and the requested background has a similar camera angle.
Style Transfer
Style transfer changes the visual treatment of the entire image while keeping the composition. You can turn a photo into an anime frame, watercolor painting, oil painting, 3D clay render, cyberpunk scene, or cinematic still. This type of edit is popular for social media because it creates a dramatic before and after effect without changing the identity of the person or object in the photo.
Clothing and Object Edits
AI can also modify specific items in a picture. You might change a jacket color, replace a t shirt with a formal shirt, remove a bag from a table, or add small details to a scene. These edits require more careful prompts because the AI needs to understand both the target object and the element that should remain unchanged. For example, you might ask the tool to change the shirt to a blue linen shirt while keeping the person's face, hair, and pose the same.
Lighting and Detail Correction
Some AI photo tools can enhance lighting, sharpen details, reduce noise, and correct color balance. This is not a full scene change, but it can make an ordinary snapshot look more polished. If your photo is slightly underexposed or has a flat color profile, an AI enhancement filter can add depth and clarity without altering the subject.
How to Change a Picture With AI on Your Phone
You can complete most AI photo changes on a phone without transferring files to a computer. Apps like memepop combine image to image generation with a large library of style filters. The workflow is simple and does not require manual masking for basic edits.
- Download the app. Install memepop from Google Play and open it on your phone.
- Upload your photo. Choose a clear image. The subject should be in focus, and the edges around the subject should be visible. Avoid heavily compressed screenshots when possible.
- Choose a style or enter a short instruction. Pick a ready made filter such as anime, watercolor, 3D clay, or realistic photography. If you want a specific change, type a brief description like change the background to a bright cafe and keep my pose unchanged.
- Generate the result. Let the app process the image, then review the preview. Most tools let you regenerate or tweak the instruction if the first result is not right.
- Save and share. Export the final image to your phone gallery or share it directly to social media.
Because the app handles everything on the phone, you can test several versions in a few minutes. This makes it easier to compare a background change, a style transfer, and a clothing edit before choosing the one you like.
Example Instructions You Can Adapt
Even when an app offers one tap filters, a clear instruction helps the AI understand exactly what to change. Instead of writing change my photo, describe the target area, the new element, and the part that must stay the same. The more specific you are about location, color, texture, and lighting, the better.
- Change the background in this portrait to a bright living room with warm natural light and a white sofa.
- Restyle this jacket into a dark green wool coat while keeping the person's face, hair, and pose the same.
- Turn this photo into a soft watercolor painting with pastel blue and pink tones.
- Replace the messy desk with a clean white surface and add a small green plant on the right side.
- Change the sky to a golden sunset and add gentle reflections on the lake below.
- Convert this group photo into a 3D clay style animation and keep every person recognizable.
You can adapt these examples to your own photos. Always name the part you want to change and the part you want to preserve. That combination gives the AI a clear editing brief and reduces the chance of unwanted face distortion or missing details.
Popular Use Cases for AI Picture Changes
Social Media Content
Creators use AI photo changes to make their profile pictures stand out, test new aesthetics, and produce before and after clips. A realistic background swap or anime style transfer can give an ordinary photo a strong visual hook. Because the process is fast, you can create several variations and post the one that matches your feed.
Product Photos and Side Hustles
Small sellers often need clean product images but cannot afford a full studio setup. AI background replacement can place a handmade item on a neutral surface, a lifestyle shelf, or a soft gradient. The product stays the same while the scene looks more professional. This helps listings feel consistent and polished.
Personal Photos and Gifts
Changing a picture with AI can turn a favorite snapshot into a painting or a stylized portrait for a gift. You can also improve an old photo by reducing noise, sharpening faces, and boosting color. These small changes make personal memories feel more display worthy without the cost of a professional editor.
Creative Projects and Mood Boards
Designers and students use AI photo editing to explore visual directions quickly. You can take one source image and try different art styles, color palettes, or backgrounds to see which direction fits a project. This speeds up the concept phase and leaves more time for final polish.
AI Picture Changes vs Traditional Editing
Traditional photo editing gives you precise control. You can mask objects, adjust layers, and fine tune every pixel. The tradeoff is time and skill. You have to learn tools like selection brushes, clone stamps, and color grading. AI picture changes make different tradeoffs. They are much faster and easier, but you give up some pixel level control. The AI might change a small detail you wanted to keep or make a texture look slightly artificial.
For most everyday edits, the convenience is worth it. A background swap that might take an experienced editor thirty minutes can be done in under a minute with AI. A style transfer that would require drawing or painting skills can be applied instantly. The best approach is to use AI for the broad change, then use a simple editing app for small manual fixes if needed.
Tips for Better AI Picture Edits
- Start with the highest resolution photo you have. AI tools work with what they can see, and a sharp original produces a sharper result.
- Keep the main subject large and clear. If the subject is too small or blocked by other objects, the AI may struggle to separate it from the background.
- Make one major change at a time. If you need a new background and a new outfit, run two separate edits or use a carefully worded instruction that keeps both changes consistent.
- Match the requested style to the original lighting. A dark indoor photo will look more natural with a moody background than with a bright midday beach scene.
- Review faces, hands, and text in every output. AI can still distort small details, especially in group photos or busy scenes.
- Keep your instruction positive and direct. Instead of saying do not make the background dark, say keep the background bright and airy.
Common Mistakes and How to Fix Them
If your AI generated picture looks off, the issue is usually in the source photo or the instruction. A blurry source leads to a blurry result. Crop the photo tighter around the subject and remove any movement blur before editing. If the background replacement looks messy around the hair, choose a photo with more contrast between the subject and the original background. If the face looks distorted, regenerate with a clearer note that the face should remain unchanged. If the style feels too strong, choose a lower intensity filter or add the words subtle and natural to your instruction.
Another common mistake is asking for too many changes at once. When the AI has to replace the background, change clothing, and restyle the face in one pass, it may mix details or lose the original subject. Break the edit into smaller steps or use a tool that lets you apply one style template at a time.
Choosing the Right AI Tool
Look for a tool that supports image to image generation, not just text to image. You need to upload a picture and keep the subject consistent. A good mobile app should have a large collection of style filters, fast previews, and simple controls. memepop fits that pattern because it offers more than one million style templates and supports image to image, text to image, and video generation. For basic picture changes, you can use the style filters without learning prompt engineering. For more specific edits, a short text instruction is enough to tell the AI what to change.
Avoid tools that require manual masking or layer work for simple background swaps unless you have advanced compositing needs. The entire point of changing a picture with AI is to reduce the effort, so the tool should handle the hard parts automatically.
How to Review AI Edited Photos Before Posting
After you generate a new version, zoom in and check the main subject. Look at the eyes, teeth, hairline, fingers, and any text or logos. If something looks unnatural, regenerate with a more specific instruction. Check the edges between the subject and the new background. If the edge is too sharp or too soft, try a different source photo or add the phrase soft natural edges to your prompt. Compare the output side by side with the original. This helps you see whether the AI changed something you did not ask for. Finally, save the version you like and keep the original safe in case you want to start over.
Privacy and Safety Notes
When you upload personal photos, choose apps that clearly state how your images are used. Read the privacy policy before uploading sensitive content. Avoid sharing AI edited photos of other people without their consent, especially if the edit changes their appearance in a misleading way. If you post an AI generated version of a real photo, it is often a good idea to mention that it was edited with AI, particularly for commercial or promotional content.
Conclusion
Change picture with AI is now practical enough for everyday photo editing. You can replace a background, restyle an outfit, turn a snapshot into artwork, or improve old photos from your phone. The key is to start with a clear image, describe one specific change, and review the result before sharing. Try a few style filters or adapted prompts and treat the first output as a draft. With a focused approach, you can create natural looking edits that feel like a real photoshoot without leaving your phone.