Blurring the background of a photo is one of the fastest ways to make your subject stand out. Whether you are working with a portrait, a product shot, a pet photo, or a group picture, a soft background removes visual noise and adds a professional sense of depth. You do not need an expensive camera or years of editing experience. With the memepop mobile app, you can blur a photo background in just a few taps and get a result that looks close to a DSLR portrait.
This guide explains what background blur is, why it works, the most common editing methods, and a clear step by step process you can follow on your phone. It also covers common mistakes, creative uses, and answers to frequent questions about background blur.
What Does It Mean to Blur a Photo Background?
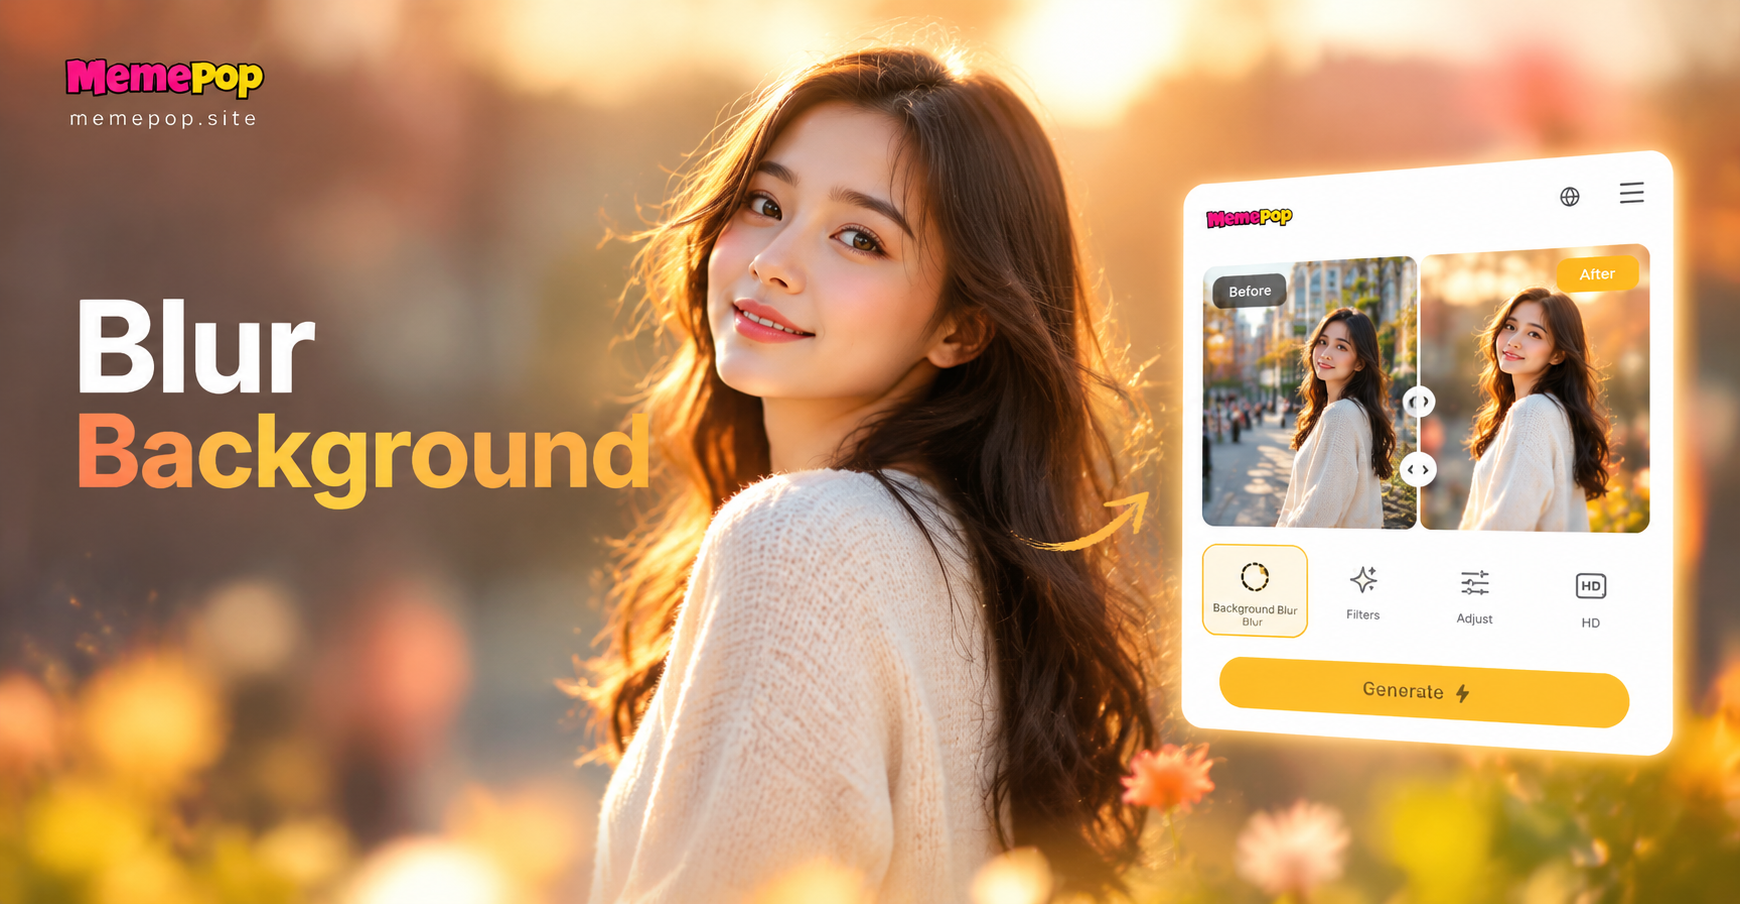
Background blur, also called bokeh or shallow depth of field, happens when the main subject remains sharp while the area behind it becomes soft and out of focus. In a traditional camera, this effect comes from using a wide aperture lens and a longer focal length. A smartphone can create a similar look through depth mapping and AI subject detection. The software identifies the main person or object, calculates the distance between the subject and the background, and applies a gradual blur that mimics optical lens behavior.
True optical blur is not the same as a uniform blur filter. Good background blur should be stronger on distant objects and weaker near the subject. The best AI tools, including the style filters inside memepop, aim to recreate this natural falloff instead of simply smearing the entire background.
Why Background Blur Makes Photos Look Better
A clean background directs the viewer's attention to the subject. It works especially well for portraits, where face and expression should be the main focus. Blur also reduces clutter such as signs, furniture, or busy streets that can compete for attention. In product photography, a soft background helps the item look more premium and easier to evaluate. For social media profiles, a blurred background can make a casual selfie feel more polished without requiring a professional studio.
Another benefit is emotional separation. When the background is soft, the subject seems closer and more intimate. This is why portrait mode on modern phones has become so popular. AI background blur gives you a similar result even on photos that were not taken in portrait mode.
Methods to Blur a Photo Background
There are several ways to achieve a blurred background. You can use an AI background blur tool, apply a style template, or paint blur manually. Each method has strengths, and the right choice depends on your photo and how much control you want.
Method 1: AI Background Blur Tool
An AI background blur tool is the fastest solution. The app automatically detects the main subject and separates it from the rest of the image. Then it applies a soft blur to the background while preserving edges such as hair, shoulders, and clothing. This method is ideal for portraits and simple compositions. It requires no manual selection and works well on photos with a clear subject.
Method 2: Style Templates and Filters
Style templates offer a more creative approach. Many portrait and cinematic filters include a built in background blur as part of the overall look. When you apply one of these filters, the AI may also adjust color, lighting, and contrast. This is a good option if you want the background blur to feel natural and also improve the overall mood of the photo. memepop offers a large library of style filters that cover realistic photography, cinematic quality, and soft portrait aesthetics.
Method 3: Manual Blur with Brush Tools
Manual blur gives you the most control. You can paint blur only over specific areas, such as a distracting sign or a busy corner. This method is useful when the subject and background are close together or when the AI detection does not separate them cleanly. Manual tools are often available in advanced editors, but they take more time and require a steady hand.
How to Blur a Photo Background in memepop
Follow these steps to blur a photo background directly on your Android phone using memepop.
Step 1: Download and Open memepop
Install memepop from Google Play. The app is designed for mobile use and combines AI image generation, style transfer, and photo editing tools in one place. Open the app after installation and allow it to access your photo library when prompted.
Step 2: Upload Your Photo
Tap the upload or plus icon on the home screen and choose a photo from your gallery. For the best result, select a photo where the subject is clearly visible and has some space around it. Avoid photos where the subject blends into the background or where the edges are heavily obstructed.
Step 3: Choose a Background Blur Effect
Go to the photo editing or style library section. Look for a portrait blur, bokeh, soft focus, or depth effect template. Tap the effect to apply it. The AI will identify the main subject and keep it sharp while softening the area behind it. If you prefer a more stylized result, try a cinematic portrait filter that includes background smoothing.
Step 4: Adjust the Blur Strength
After applying the effect, check whether an intensity or strength control is available. Move the slider until the background looks natural. A moderate blur often looks more realistic than a very strong one, especially if the background is close to the subject. Preview the image at full size to check for any obvious edge errors.
Step 5: Save and Share
When the result looks good, save the photo to your phone. You can also share it directly from the app to social media or messaging apps. Keep a copy of the original photo so you can try different blur strengths or styles later.
Tips for a Natural Looking Background Blur
These simple habits will help you get better results more consistently.
- Use photos with a clear subject and some distance between the subject and the background.
- Choose images with good lighting and enough contrast between the subject and the background.
- Start with a light blur and increase it only if the background still looks distracting.
- Check the edges around hair, ears, and shoulders after applying the effect.
- Keep the original photo saved before making permanent edits.
- Try multiple style templates to compare how each one handles the background.
Common Mistakes When Blurring a Photo Background
Too Much Blur
Applying an extremely strong blur can make the image look artificial. It can also create a hard halo around the subject, which draws attention to the edit instead of the subject. Use a soft or medium blur for portraits and save heavy blur for abstract or creative shots.
Blurring the Wrong Area
AI detection is not perfect, especially in photos with multiple people, busy edges, or low contrast. If the app blurs part of the subject, try a different photo or use a style template that handles the separation differently. If manual tools are available, you can refine the selection to exclude the subject from the blurred area.
Ignoring the Foreground
A blurred background will not fix a messy foreground. If there are objects between the camera and the subject, they may remain sharp and distracting. In that case, crop the photo or choose a different angle before applying the blur.
How to Improve Blur Results on Difficult Photos
Some photos are harder to edit than others. If your first attempt does not look right, try these adjustments.
Increase the distance between the subject and the background. A subject standing against a wall is harder to separate than one standing a few feet in front of it. Shoot in brighter light so the AI has more detail to work with. Avoid backgrounds that are highly patterned or have many fine lines, because these can confuse subject detection. If possible, choose a photo where the subject has a clean outline. You can also crop the image slightly to remove edge clutter before applying the blur.
Background Blur vs Background Removal
Background blur and background removal are related but different tools. Blur keeps the original scene but softens it so the subject stands out. Removal deletes the background entirely and replaces it with a new color, gradient, or image. Blur is better when you want to keep context, such as a park, street, or room, but reduce its visual weight. Removal is better when you want a complete separation or plan to place the subject in a new scene. memepop includes image to image and style transfer tools that can support creative background changes, so you can experiment with both approaches depending on your goal.
Creative Ways to Use Background Blur
Once you know how to blur a photo background, you can use the skill across many types of images.
For social media profile pictures, a soft background makes your face more visible and gives the photo a consistent look. For product photos, blur helps remove distractions from shelves or desks so the item becomes the clear focus. Pet photos also benefit, because a calm background helps capture the animal's expression. Travel shots with a busy market or street can feel more balanced when the background is slightly softened. Event photos and birthday pictures look cleaner when the background is blurred just enough to keep the mood without the clutter.
Frequently Asked Questions About Blurring Photo Backgrounds
Can I blur the background of any photo?
Most photos can be edited, but results vary. Clear subjects, decent lighting, and some distance from the background produce the best results. Very low contrast or heavily cropped photos may need extra adjustments.
Do I need design skills to blur a photo background?
No. AI background blur tools are built for quick, automatic edits. You simply upload a photo, choose an effect, and save the result. Manual tools are optional for those who want more precision.
Does blurring a photo background reduce image quality?
A good AI editor preserves the original resolution and only softens the selected background. Avoid applying multiple strong filters after the blur, because repeated compression or sharpening can reduce overall clarity.
Can I blur the background in a video using memepop?
memepop focuses on AI image generation, video generation, and style transfer. For videos, you can apply creative style templates that change the overall visual, but a dedicated video background blur tool may not be available. Check the app's current video effects for supported options.
Is the background blur effect permanent after saving?
Yes. Once you save the edited image, the blur becomes part of the file. Keep the original photo on your phone or in cloud storage if you think you might want to make changes later.
Conclusion
Learning how to blur a photo background is a simple way to improve portraits, product shots, and everyday pictures. With memepop, you do not need a DSLR or advanced editing experience. Download the app, upload a photo, and apply a background blur effect to see how quickly a busy image can become a clean, professional looking result. Try a few different styles and blur strengths to find the look that works best for your subject.